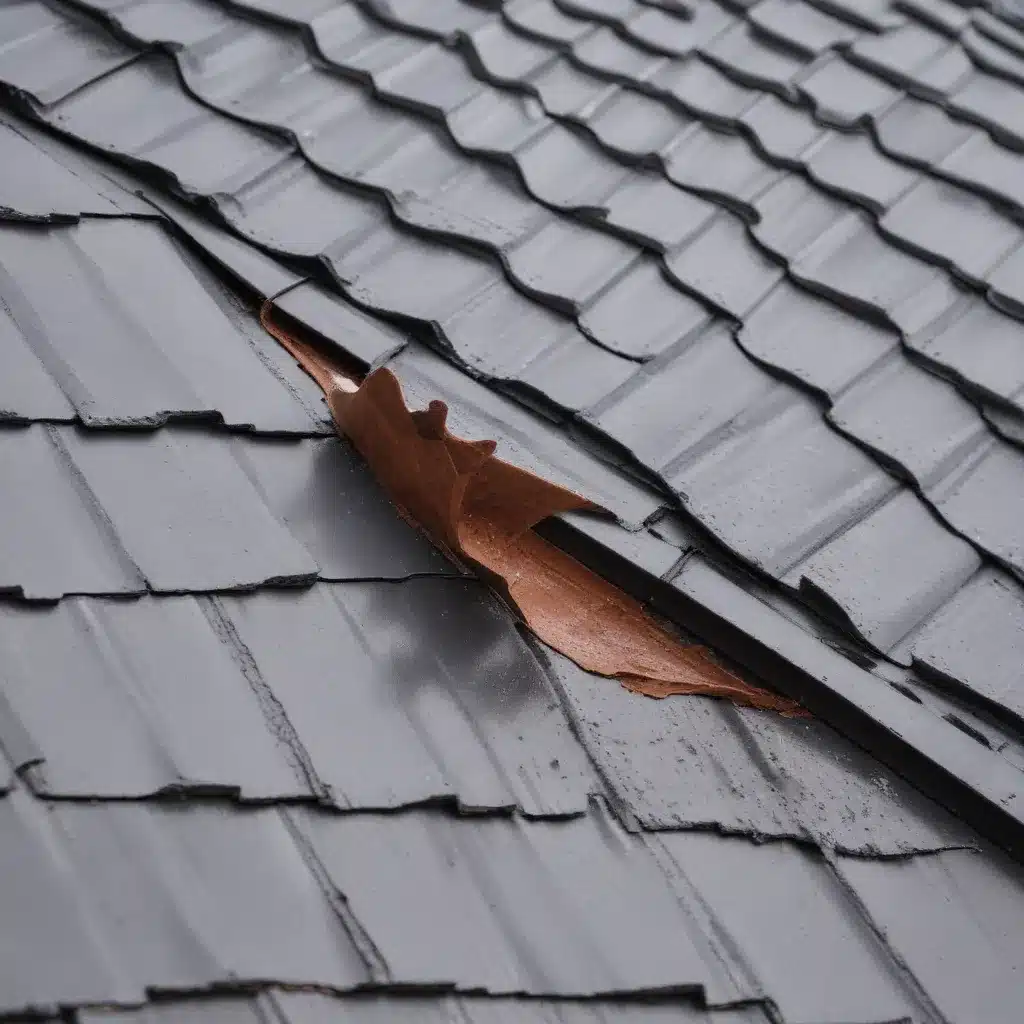
As an experienced roofing contractor, I’ve seen firsthand the critical role that proper roof flashing plays in protecting homes from water damage. Flashing is the unsung hero of the roofing world, quietly and diligently directing water away from vulnerable areas and creating a watertight seal that safeguards your investment.
The Anatomy of Roof Flashing
Roof flashing is a thin, malleable material, usually made of aluminum, copper, or galvanized steel, that is strategically installed at the joints and valleys of a roof. Its primary function is to create a barrier that prevents water from seeping into the home, where it can wreak havoc on the structural integrity and lead to costly repairs.
There are several key types of roof flashing, each designed to tackle a specific challenge:
-
Step Flashing: This flashing is used at the intersection of a roof and a vertical wall, such as a chimney or dormer. It’s installed in a stair-step pattern, with each piece overlapping the one below it to create a water-shedding barrier.
-
Valley Flashing: Roof valleys, where two roof planes meet, are a prime target for water accumulation. Valley flashing is installed in these areas to channel the water down and away from the home.
-
Chimney Flashing: The joint between a chimney and the roof is a notorious entry point for water. Chimney flashing seals this gap, preventing leaks and ensuring the structural integrity of both the chimney and the roof.
-
Vent Flashing: Roof vents, pipes, and other penetrations require specialized flashing to create a watertight seal around them, stopping water from seeping in through these openings.
The Art of Flashing Installation
Properly installing roof flashing is a delicate dance, requiring precision, attention to detail, and a deep understanding of roofing systems. As a seasoned roofing contractor, I’ve honed my skills over the years, and I can attest that there’s no substitute for experience when it comes to ensuring a successful flashing installation.
One of the key elements is selecting the right flashing material for the job. Aluminum is a popular choice due to its affordability and ease of installation, but it may not be the best option in areas with harsh weather conditions. Copper and stainless steel are more durable and corrosion-resistant, making them a wise investment for long-term protection.
Another critical aspect is custom-fitting the flashing to the unique contours of your roof. Generic flashing designs simply won’t cut it – you need a tailored solution that seamlessly integrates with your roof’s features. This requires precise measurements, careful cutting, and a keen eye for detail.
Reinforcing the Seal: Advanced Flashing Techniques
While the basic principles of flashing installation are essential, there are some advanced techniques that can take your roof’s protection to the next level. One such technique is the use of counterflashing, which provides an additional layer of defense against water intrusion.
Counterflashing is typically embedded into the mortar joints of a chimney or other vertical wall, creating an overlapping barrier that works in tandem with the step flashing. This dual-layer approach ensures that even if water manages to bypass the step flashing, the counterflashing will catch it and redirect it away from the home.
Another advanced technique involves the use of sealants. Selecting the right sealant and applying it with meticulous care can make all the difference in creating a lasting, watertight bond. High-quality sealants with superior adhesion properties are a must, and proper application techniques, such as thorough surface preparation and smooth, even coverage, are crucial.
Maintaining the Integrity of Your Roof
Of course, even the most expertly installed flashing won’t last forever. Regular maintenance and inspections are key to keeping your roof in top condition and catching any issues before they become major problems.
I recommend scheduling annual roof inspections, or more frequently if you live in an area with harsh weather conditions. During these inspections, it’s important to check the flashing for any signs of wear, such as cracks, gaps, or corrosion. Addressing these issues promptly, through re-sealing or replacement as needed, can save you from costly water damage down the line.
Choosing the Right Roofing Contractor
When it comes to roof flashing installation and maintenance, it’s crucial to work with a reputable and experienced roofing contractor. Look for a company that specializes in flashing and has a proven track record of successful installations. Ask for references, check reviews, and make sure they are licensed, insured, and up-to-date on the latest roofing best practices.
At Roofers Midland, we take pride in our expertise in roof flashing. Our team of highly skilled professionals is dedicated to ensuring that your roof not only looks great but also provides the ultimate protection for your home. From custom-fitted flashing solutions to advanced sealing techniques, we’ve got you covered.
Conclusion
Roof flashing may be the unsung hero of the roofing world, but its importance cannot be overstated. By understanding the different types of flashing, mastering the installation techniques, and maintaining the integrity of your roof, you can ensure that your home stays dry and protected for years to come.
So, the next time you’re considering a new roof or roof repairs, don’t overlook the critical role of flashing. Invest in a quality solution and work with a trusted roofing contractor who can help you achieve a watertight seal that will give you peace of mind and protect your most valuable asset – your home.

